On Saturday I shared images of the Gelli Plate that I had made, and thought I would show you how I have been using it. If you want to make one of your own go to Linsay - The Frugal Crafters site, they are very easy to make, all you need is:
Gelatin
Glycerin
square container to set the mixture
water
2 x acetate sheets to prevent drying
Container to store Gelli plate
Once you have made your gelatin plate you are ready to go.
I decided that I was going to print on some fabric. I have a mini book that I want to make a cloth bound cover for. It is a piece of white cotton that I have cut to size of aprox a piece of A4 paper.
I also selected some paints and stencils that I would use for the design
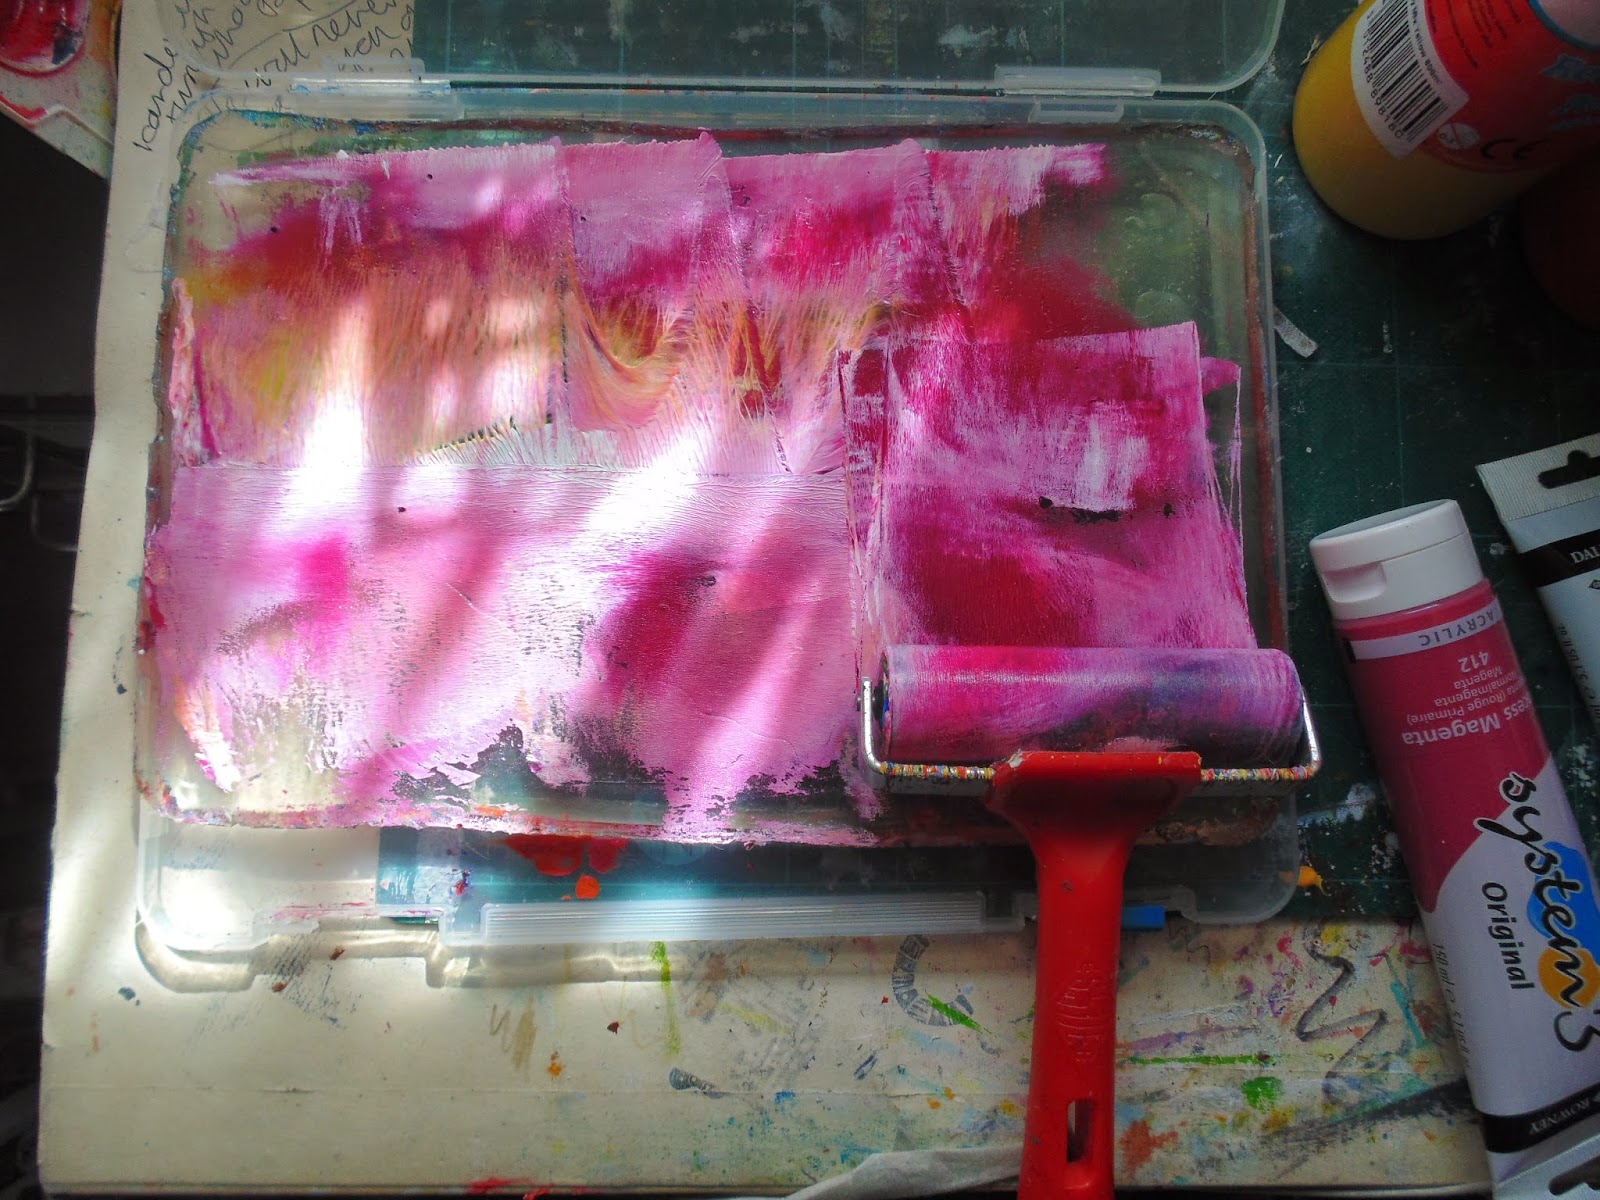
I applied some paint and used the brayer to move it around
I lay the material over the plate and smoothed over it with my hands.
This is the first layer of paint, I then added some more paint to the surface of the plate and applied the stencils
Here is the finished material. I will let this dry and then show you how it turned out for my mini book.
The Gelli plate is a great way to add interesting backgrounds to your work either on paper or materials, here are a few more designs that I completed on paper.
You can get some great designs using a variety of stencils
and paint combinations - I can see two dancers in this one..
most importantly, have fun, and share what you come up with. Blessings!


No comments:
Post a Comment